Getting started with Sonely
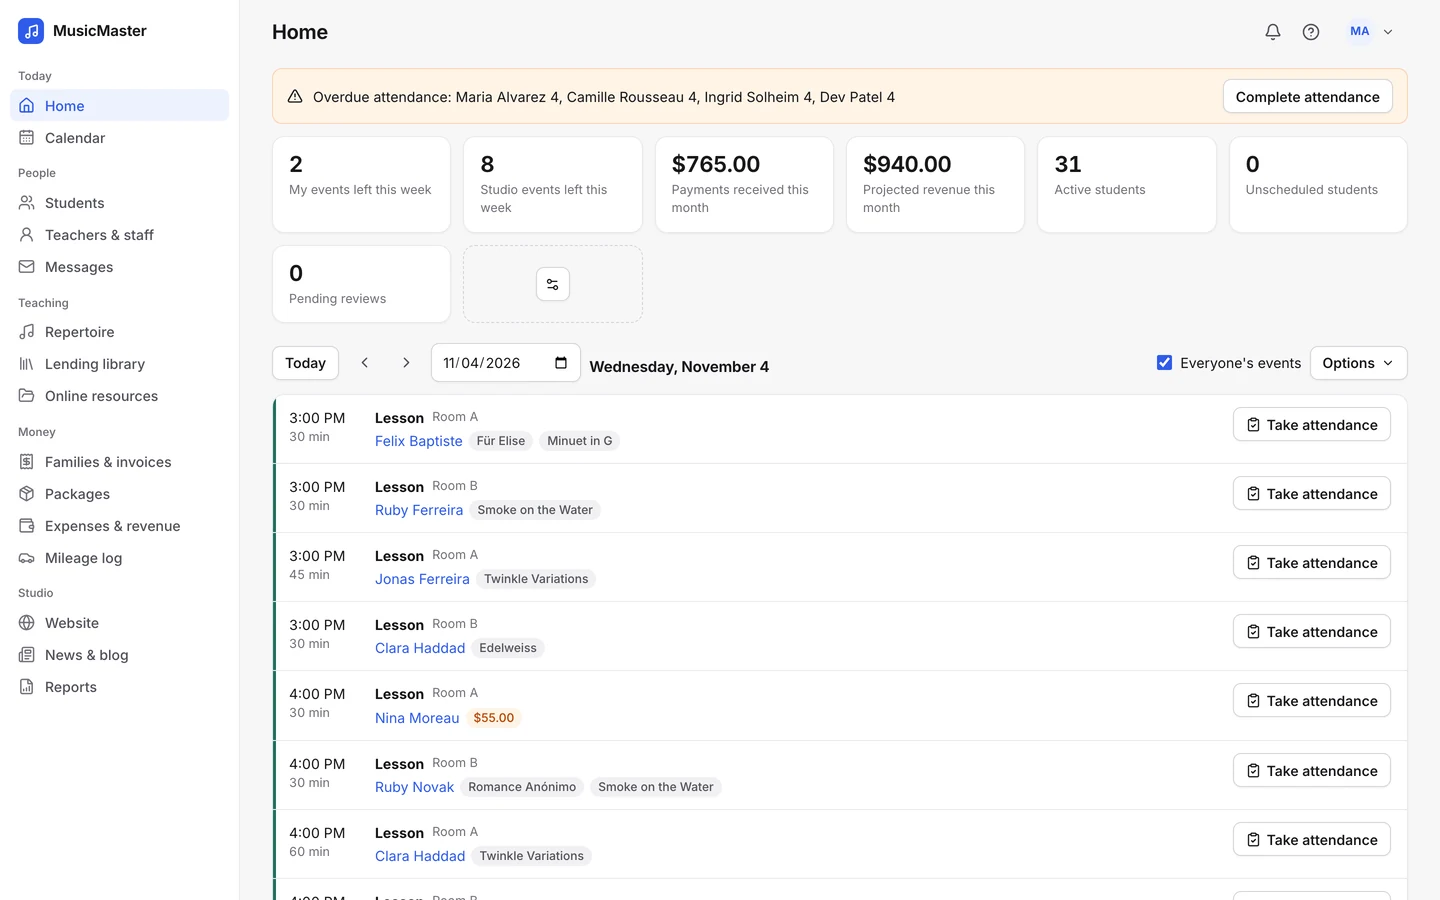
Setting up a studio is a short trip with a few stops, and it looks a little different for a teacher working alone than for a school with a faculty and a front desk.
Sonely walks you through it. When you first sign in, a short setup asks about your studio and whether you want a website. After that, a getting-started guide takes you through your first students, lessons, attendance and invoices. Close it whenever you like and reopen it from Help.
This page lays out every stop in the same order, with the settings worth a look along the way, so you know what’s coming before you start.
Take as long as you need. You can skip a step and come back to it later.
Step 1
Sign up and set up your studio
Sign up free: one teacher is free for good, with every feature and no card to enter. Teaching with others? Extra seats are free for your first 30 days.
The first-time setup asks about your studio, then whether you want a website built in Sonely, widgets for the site you already have, or neither for now. You can change your mind later.
Step 2
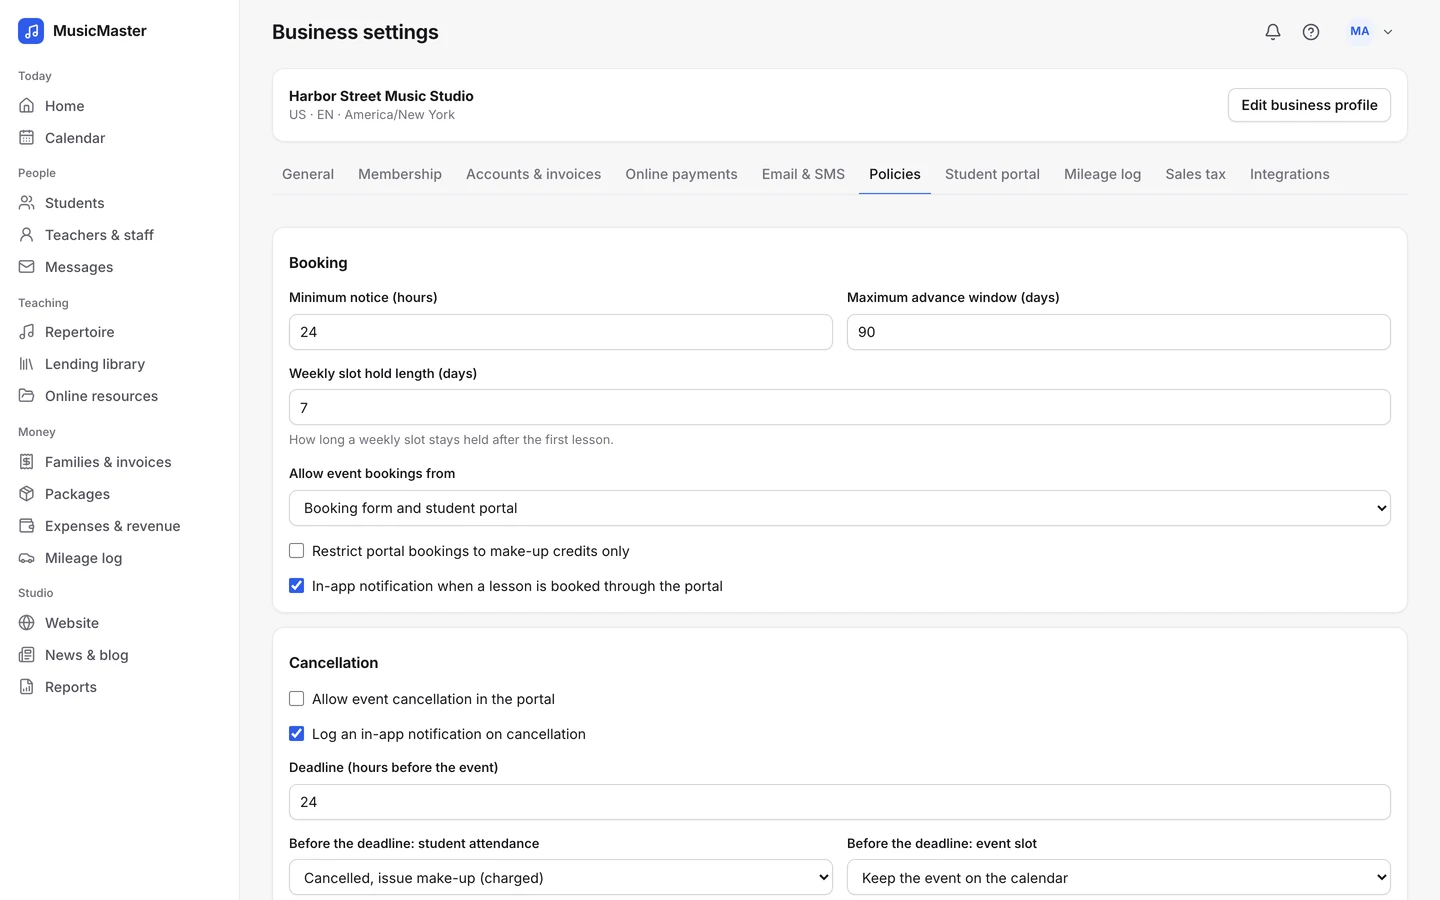
Fill in your business settings
Open Business settings and add your studio’s address, phone and logo, which are printed on your invoices and reports. Your region sets the app’s language, your currency and how dates and times are written, and your time zone is the base for every lesson and reminder.
While you’re there, look at Policies (how much notice families must give to book or cancel, and what happens to a lesson cancelled late), Email & SMS, and Sales tax if you charge it.
Step 3
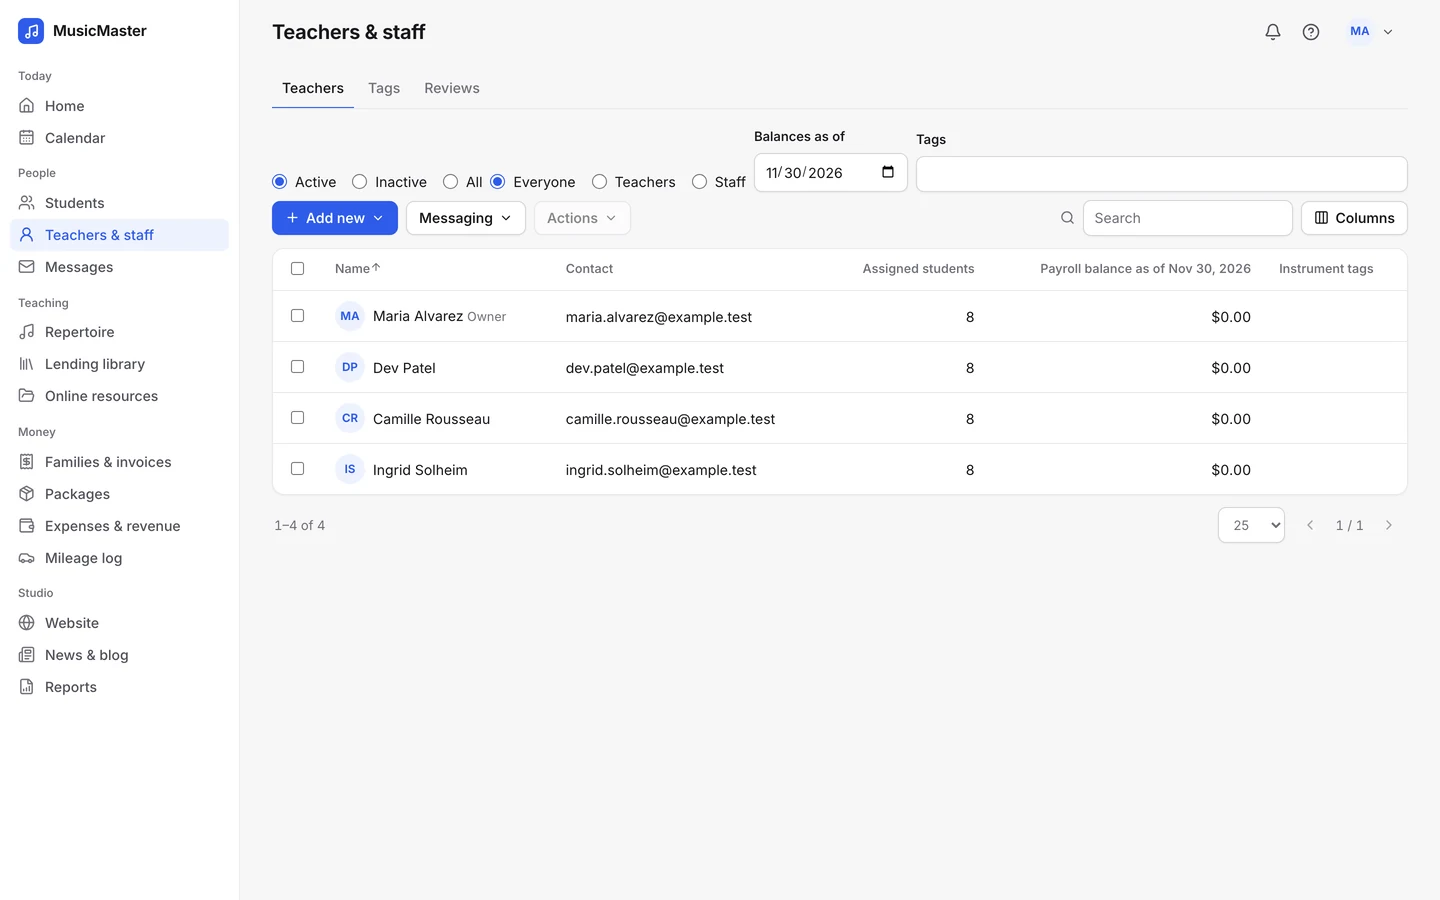
Add your teachers and staff
Teaching alone? Skip ahead.
Each teacher, admin or staff login uses a seat, so raise your seat count under Membership first. Then add each person, or import a list of teachers from a CSV file. Choose what each one can see and do, set how they’re paid, and send them a login.
Step 4
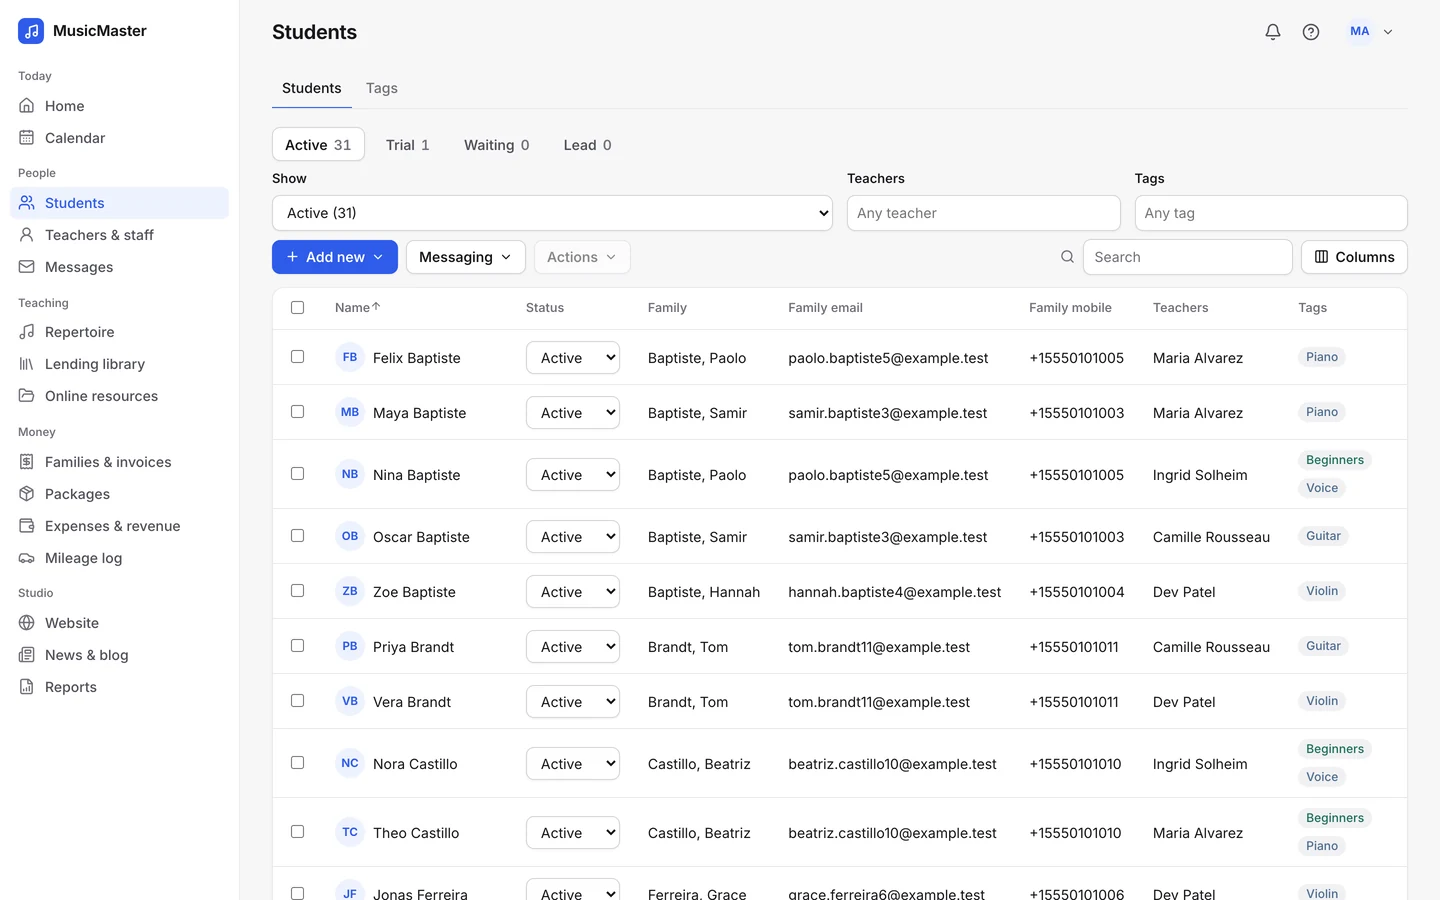
Bring in your students and families
Add students one at a time, or import them from a CSV or Excel file. The import matches your columns, shows a preview where you can fix any row, then sets everyone’s status (Active, Trial, Waiting, Lead or Inactive), their teacher and their reminders.
The import brings in people, not history. Families keep siblings and parents together, and an adult student can be their own contact and payer.
Step 5
Set up lesson categories and prices
Categories describe what you teach, like a 30-minute piano lesson, a theory class or a recital, and locations say where: a room, the student’s home or online, with your own meeting link.
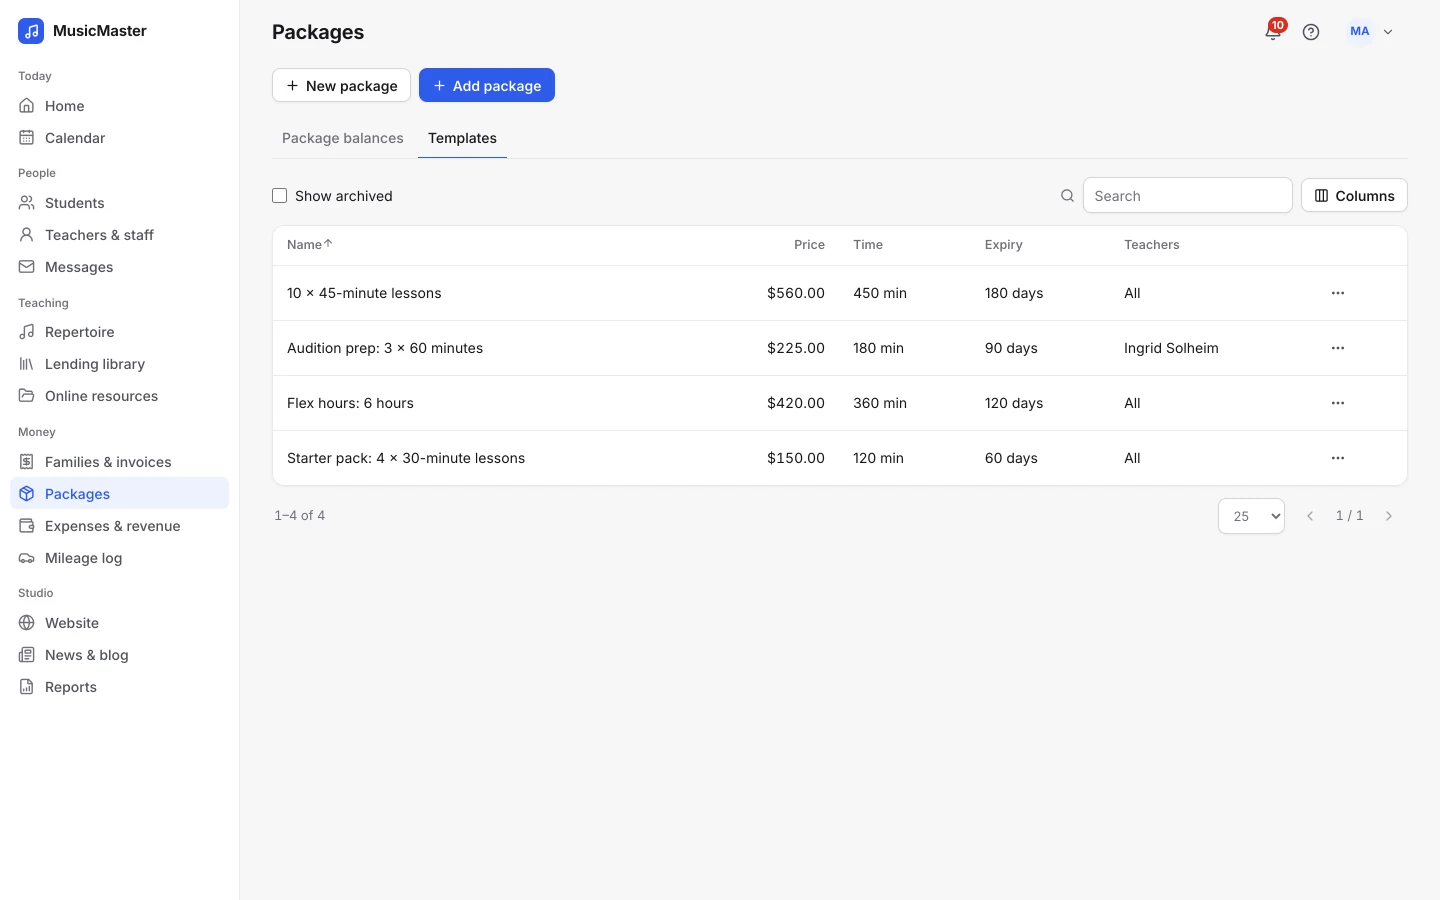
Give each student a default lesson length and price with their teacher, and choose how it’s billed: per lesson, a fixed amount each month, or by the hour. Selling blocks of lessons? Set up packages too.
Step 6
Open your teachers’ availability
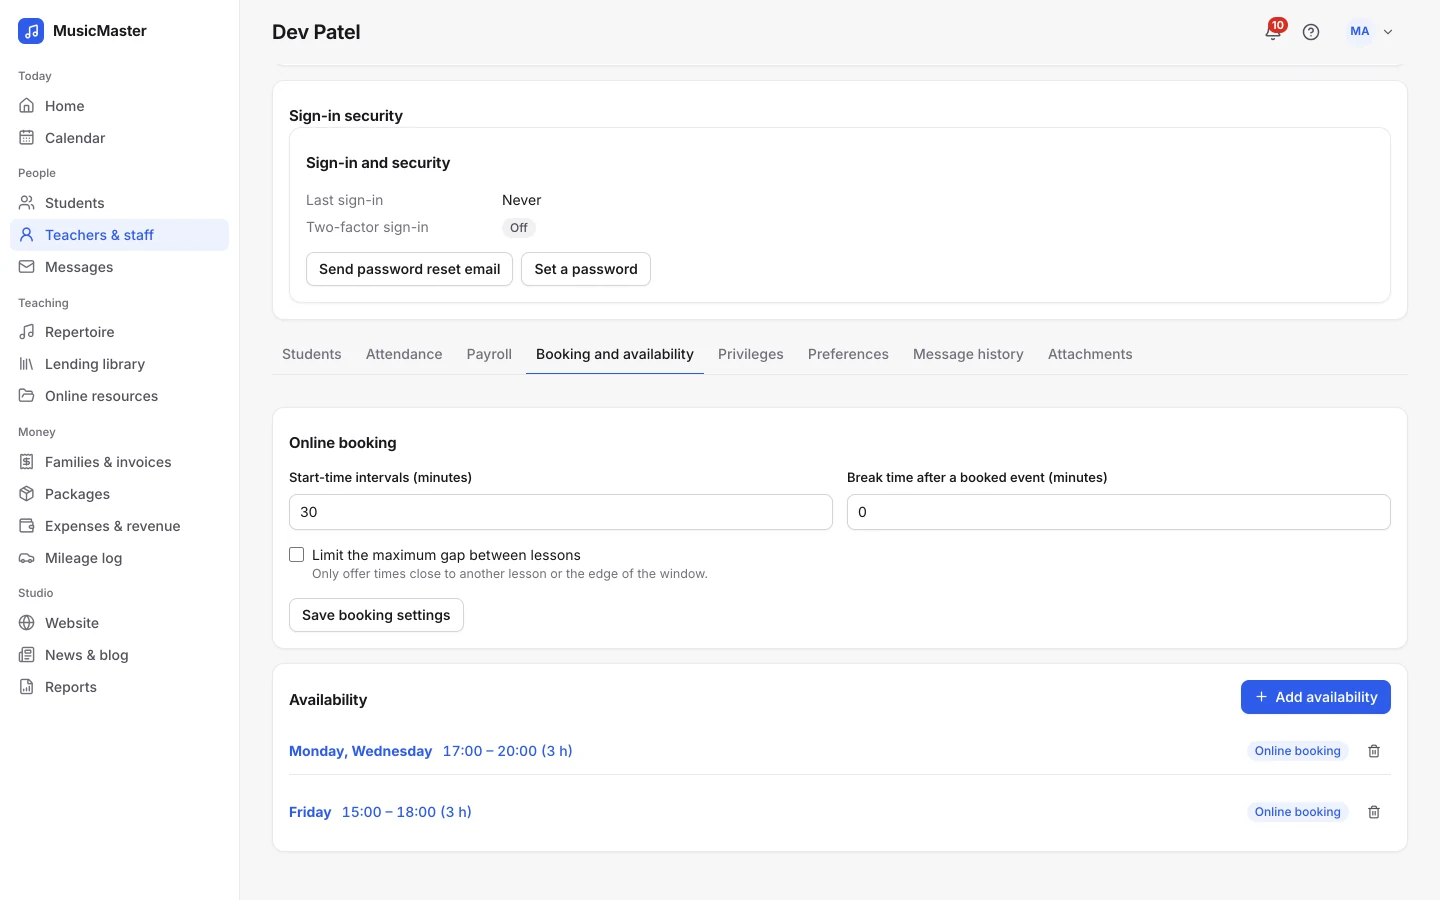
Give each teacher their weekly hours and where they teach, and tick Allow online booking if families may book into them. Set start-time intervals, breaks after a booked lesson and limits on gaps between lessons.
Your booking policies decide how far ahead families can book and how much notice they must give.
Step 7
Schedule lessons and take attendance
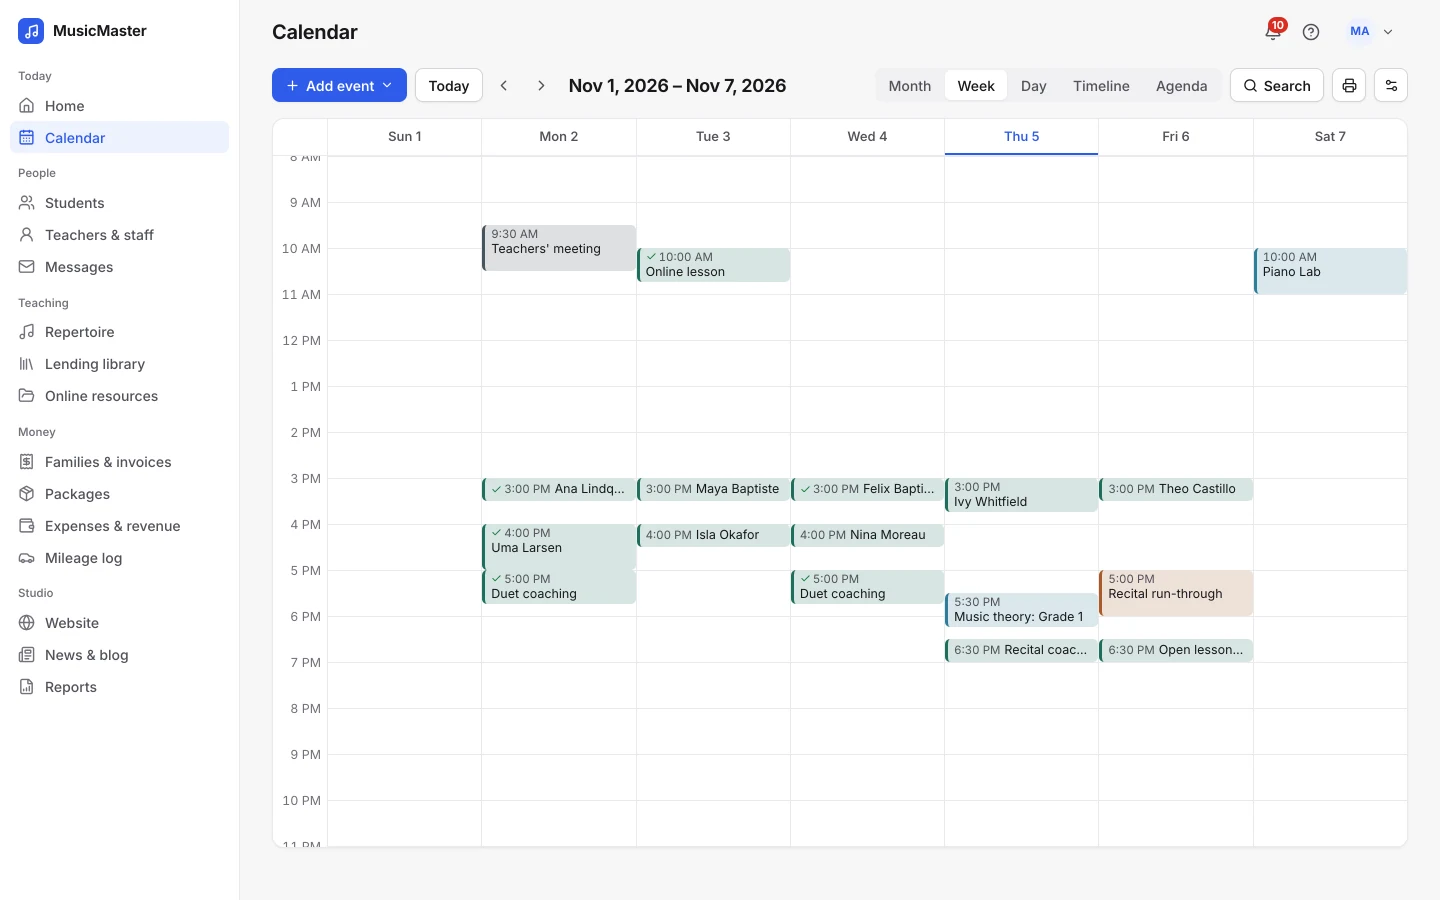
Add each student’s weekly lesson once and it repeats, with their default length and price. Group classes and one-off events go on the same calendar, and Sonely catches clashes before they happen.
After each lesson, mark attendance. The status you choose (Present, Late, Absent with notice and the rest) decides whether the lesson is billed and whether a make-up credit is issued.
Step 8
Set up billing and connect payments
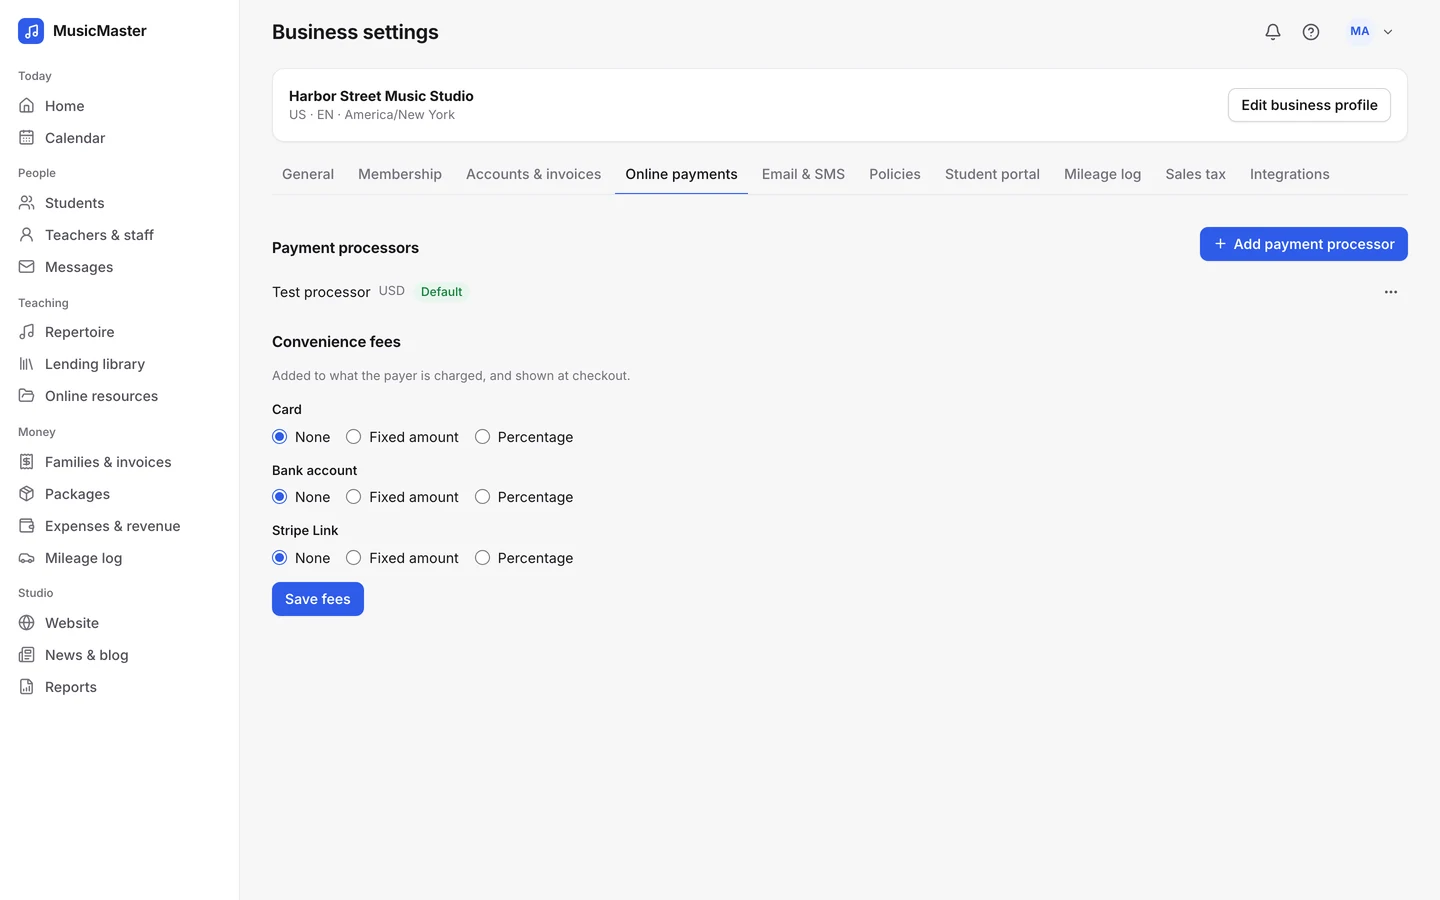
Under Online payments, connect your studio’s own Stripe or PayPal account. Families’ payments go straight to you, and their card and bank details stay with the processor. Add a convenience fee if you want one.
Then turn on auto-invoicing for each family, by lesson, package or month, and choose whether overdue invoices get reminders and late fees.
Step 9
Invite families to the portal
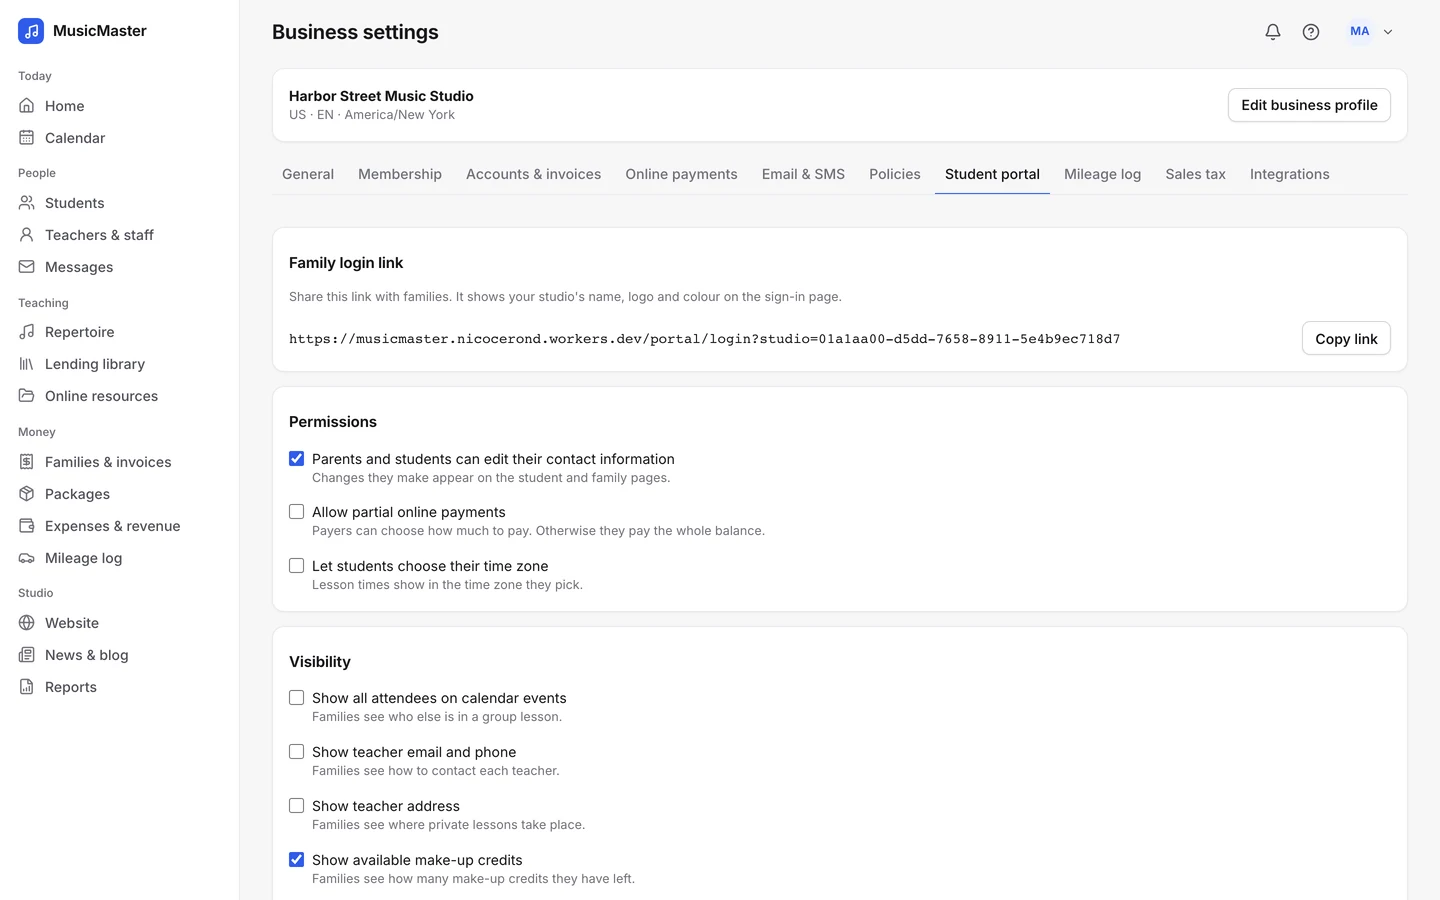
Under Student portal, choose what families can see and do, the page they land on and your brand color.
Then send logins: one family at a time from the student’s Portal tab, or several at once from the students list. Each family gets an email with a link to set a password, and the portal works in any phone, tablet or computer browser.
Step 10
Build your website
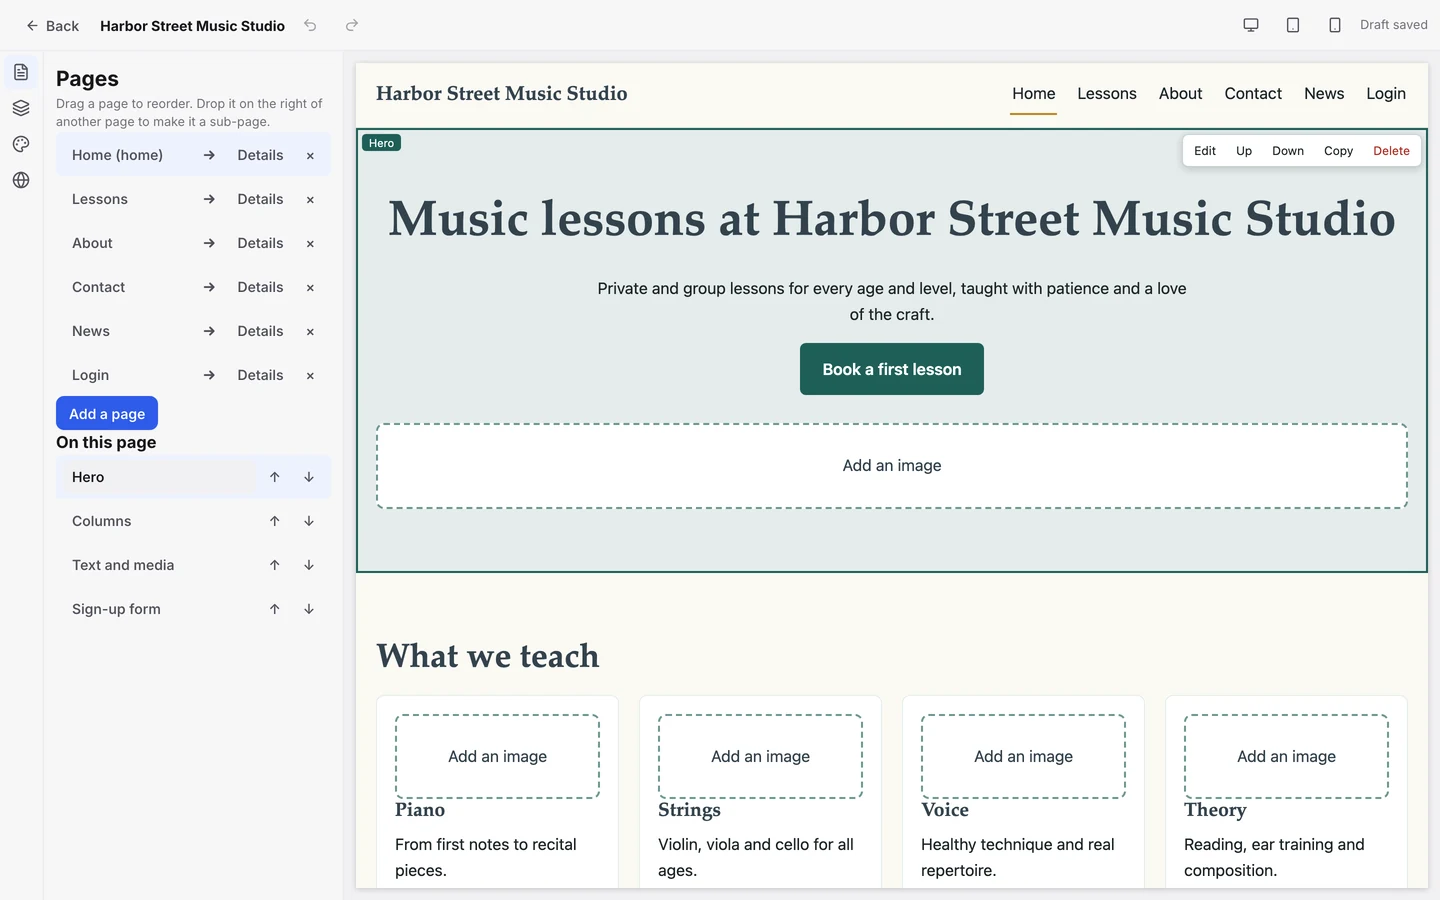
Pick a template (Studio classic, Bright keys, Quiet hall, Open stage or Garden room), add blocks like a sign-up form or booking from availability, and publish on your own domain.
Already have a site? Add Sonely’s widgets to it instead. Either way, sign-ups arrive in Sonely as leads or students.
Good to know before you start
A few things that make setup smoother.
Try the demo studio first. It’s full of students, lessons and invoices, so you can click through every screen before you enter your own.
Raise your seat count before adding a teacher. Each teacher, admin or staff login uses one seat, and students never do.
The import brings in people: students, families and contacts. Lessons and invoices start fresh, so schedule lessons once everyone is in.

Ask us as you go
Stuck on a step, or not sure which setting fits your studio? Email support and we’ll help you through it.
Frequently asked questions
Do you offer in-person training?
No. Setup happens in the app, with the getting-started guide beside you and this page as your map. If you get stuck, email us and we’ll help you through it.
How do I get my teachers started?
Add them under Teachers & staff and send each one a login. Choose what they can see and do, and they start on their own lessons. The support page answers common questions.
What happens after 30 days?
If you teach on your own, nothing changes: one teacher is free for good.
If you added teachers, admins or staff, their seats are paid from then on. Subscribing early doesn’t cost you free days: your first payment still falls on the last of them.
And you can open a fresh demo studio whenever you want to try something without touching your own.
Can I bring my lessons and invoices from another system?
Not with the import. It brings in students, families and contacts, and lessons and invoices start fresh in Sonely.